")
")
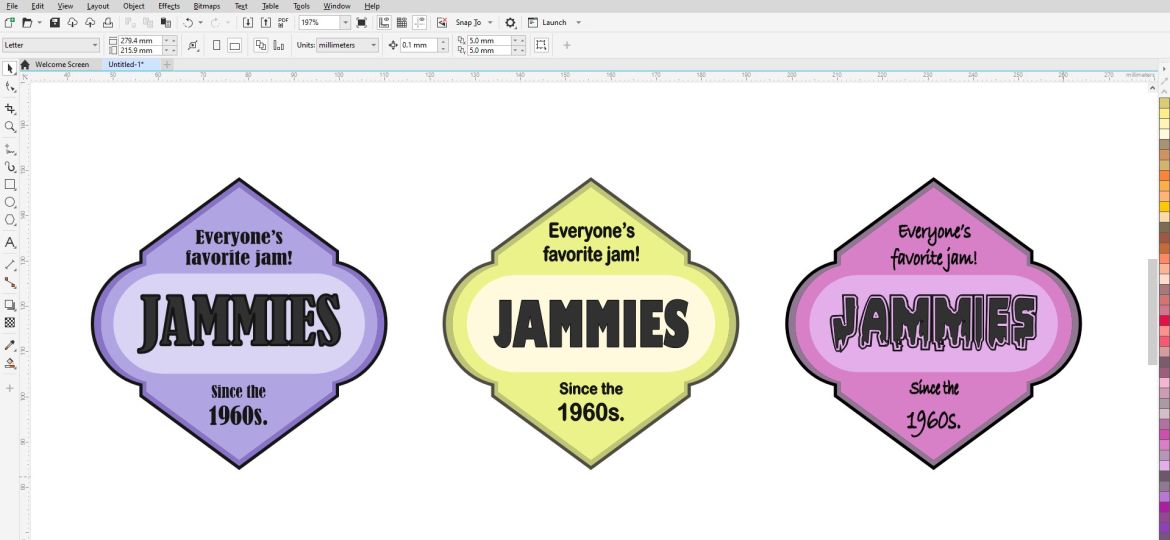
Labels come in various shapes and sizes. CorelDRAW 2022 has many tools to create labels for products, services, instructions, advertisements, etc. Here is one of the easiest ways to create a unique label in CorelDRAW.
Creating the Outline
To make a unique label, you can combine a couple of basic shapes to get a completely new one. In this example, we will combine a curved rectangle with a hexagon to get the perfect outline for our label.
- Open CorelDRAW, Create a New Document and turn it to a Landscape orientation from the top menu bar.

Click on the Landscape position in the “Property bar”. - Draw a rectangle with the Rectangle tool. You can specify the width and height of the rectangle in the Property bar. In this case, the rectangle is 130 x 56 mm.

Use the Rectangle tool to draw a rectangle. - To make the edges of the rectangle curved, adjust the Corner radius. Here, we put 100 mm.

Curve the edges of the rectangle with the Corner radius option. - Click on the Polygon tool, draw a polygon, and place it in the center of the rectangle. In our example, the Polygon should be 87 x 128 mm, and have six sides.

Use the Polygon tool to draw a polygon. - Select both objects with the Pick tool, and click on Weld. This will combine the two objects into one.
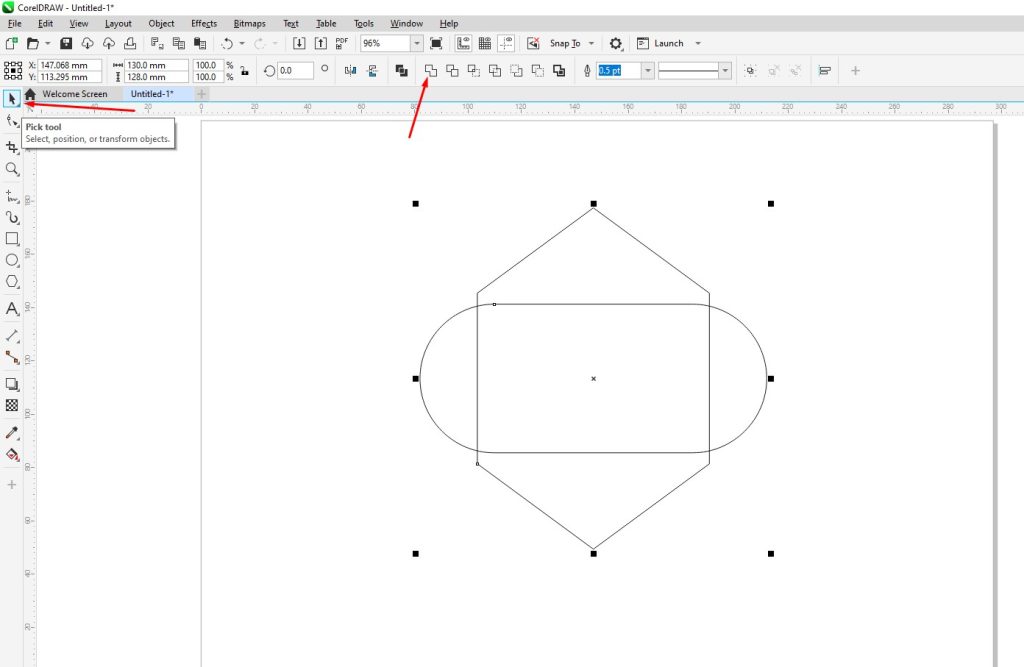
Select the objects with the Pick tool, and click on Weld. - Select your new object and press Ctrl + C, then Ctrl + V to copy/paste it in place.
- Then select the copy of the object, and resize it by moving the small black squares while holding Shift.

Resized the copied object while holding Shift. - Create another rectangle (110 x 43 mm), adjust the Corner radius to 118 mm, and place it in the center.

Create another rectangle and place it in the center.
Coloring the Label
- Click on the Smart Fill tool.

Click on the Smart Fill tool. - While Smart Fill is selected, click on the different closed curves of your object. This should make them all the same color.

With the Smart Fill selected, color every object by clicking on it. - To recolor those objects, click on the object you want to recolor with the Pick tool, choose any color from the color palette, and left-click on that color.

Select the object and left-click on the color from the color palette. Note: Left-clicking a color will color the closed object, while right-clicking a color will color the outline of that object.
Adding Text to Your Label
- Click on the Text tool.

Click on the Text tool. - Type your text and format it to your liking using the options in the Property bar.

Type your text, and use the formatting options from the “Property bar”. Note: After you are done with your project that consists of more than one object, it is always a good idea to group the objects. Select the objects and press Ctrl + G (CMD + G on Mac) on your keyboard. Grouped objects are easier to move around.