")
")
In CorelDRAW, specific projects, including more complicated multi-page documents, should be adequately marked before printing. CorelDRAW 2022 has built-in features that allow you to mark where you want the documents to be cut or folded.
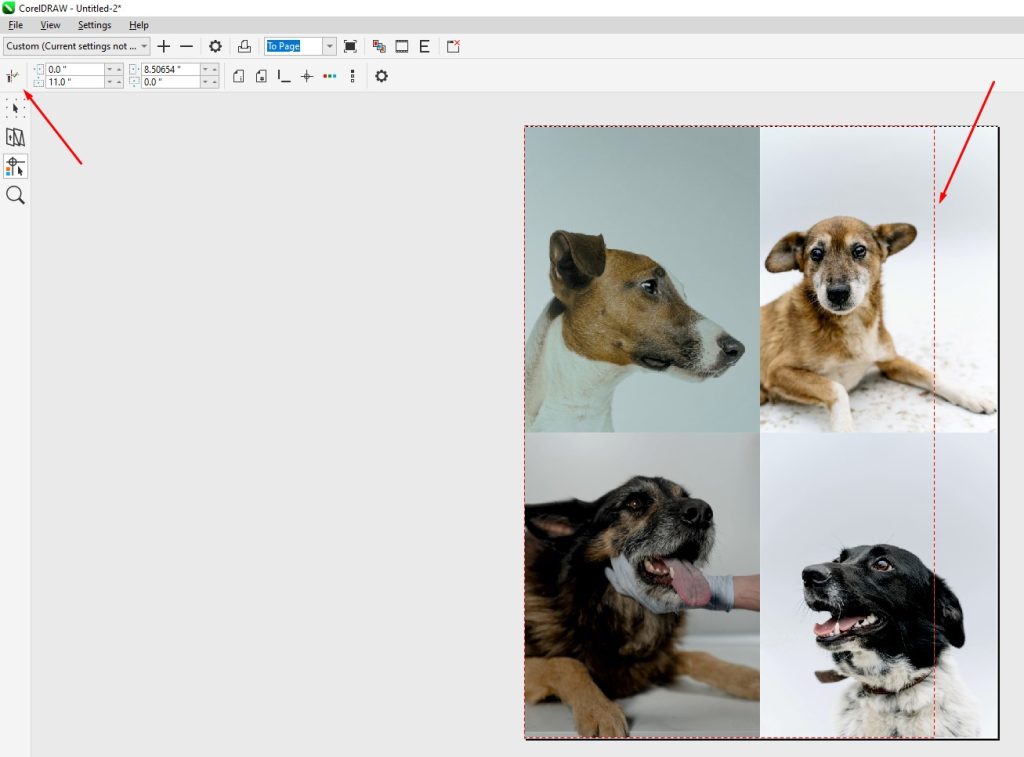
- Once you have prepared your document for printing, go to File > Print Preview.

Go to File > Print Preview. (Source pexels.com) - Click on the Imposition Layout Tool.

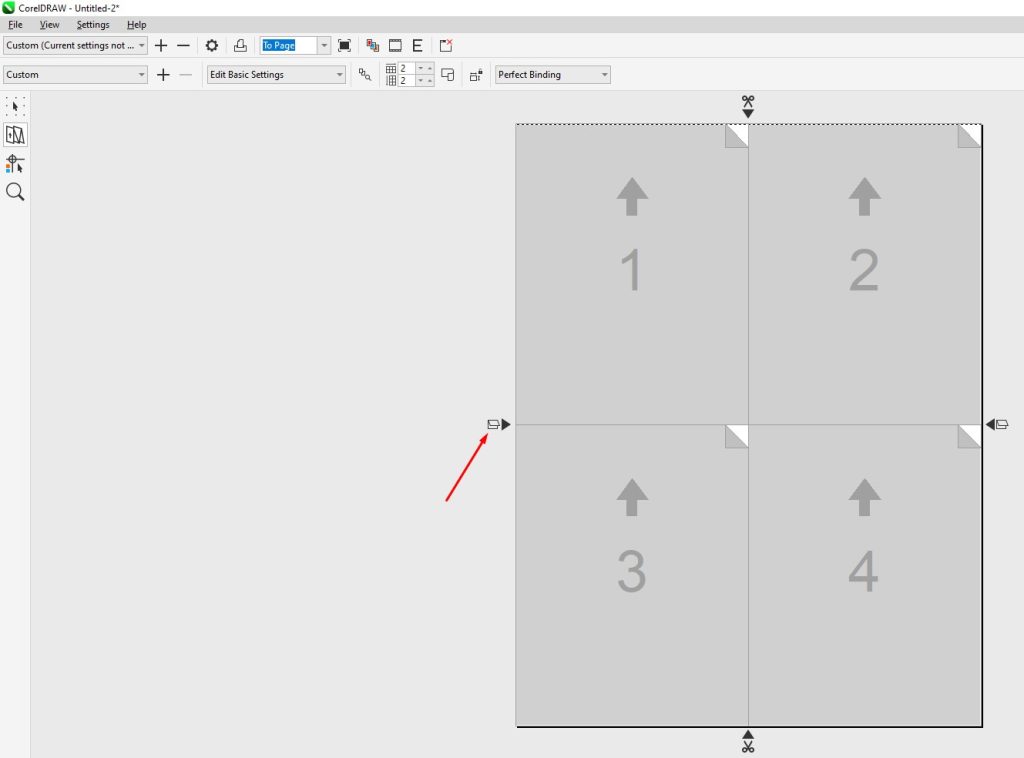
Click on the Imposition Layout Tool. - On the top toolbar, you have two options that will help you position your documents for printing, Pages Across/Down. These options let you choose the layout of your print.

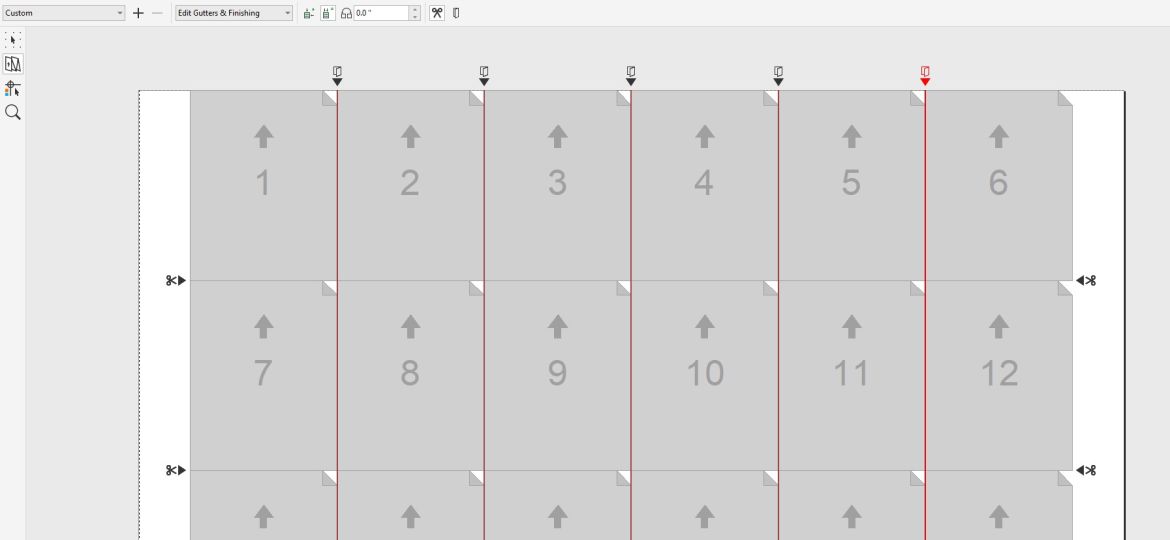
Use Pages Across/Down options to customize your print layout. - Once you have used the Pages Across/Down options, the small scissor icon appears where the papers meet. These scissors indicate that the documents will be cut along that line.

Create a Cut Mark in CorelDRAW.
If you are unsure how the document will look once it is cut, you can click on the Marks Placement Tool to see the results. To change the placement of the marks, you need to turn off the Auto-Position Marks Rectangle. This allows you to adjust where the cuts will be made manually.
- If you want the paper to be folded instead of cut, you can make a Fold Mark by simply clicking on the small scissor icon. This will automatically change the Cut Mark to a Fold Mark.
Click on the small scissor icon to create a Fold Mark.